Google reCAPTCHA v3 with Node.js
What is Google's reCAPTCHA?
Google's reCAPTCHA is a free service that protects your website from spam and abuse.
Help Tips: Our Contact Us page is protected by google reCAPTCHA. Please check it out.
Google's reCAPTCHA v3
In October 2018, Google introduces reCAPTCHA v3, which helps you detect abusive traffic on your website without any user friction. It returns a score (1.0 is very likely a good interaction, 0.0 is very likely a bot) based on the interactions with your website and provides you more flexibility to take appropriate actions.
Getting Started
In this post I will show you how to integrate reCAPTCHA v3 into a website with Node.js backend.
Creating a Simple Subscription Form
First we need to create an HTML page with a simple form where we need to integrate reCAPTCHA v3.
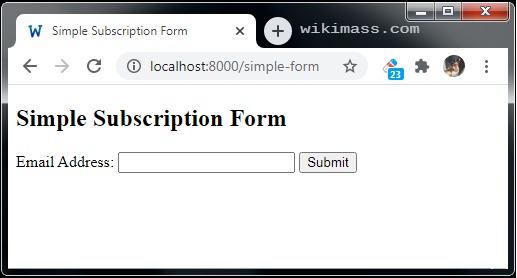
Just copy and paste the following example code to create a simple subscription form with HTML.
Example
Registration
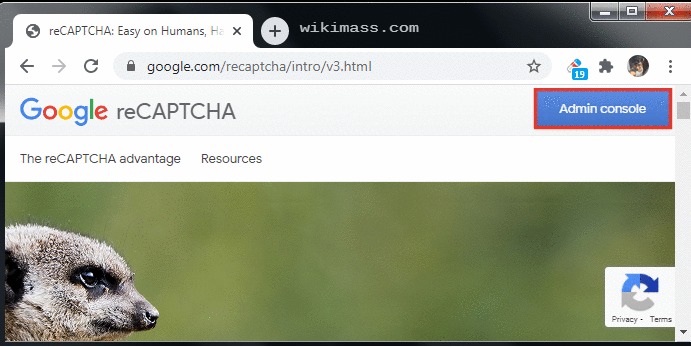
Now get credentials for your website. Lets go to https://www.google.com/recaptcha/intro/v3.html and click on Admin console button.
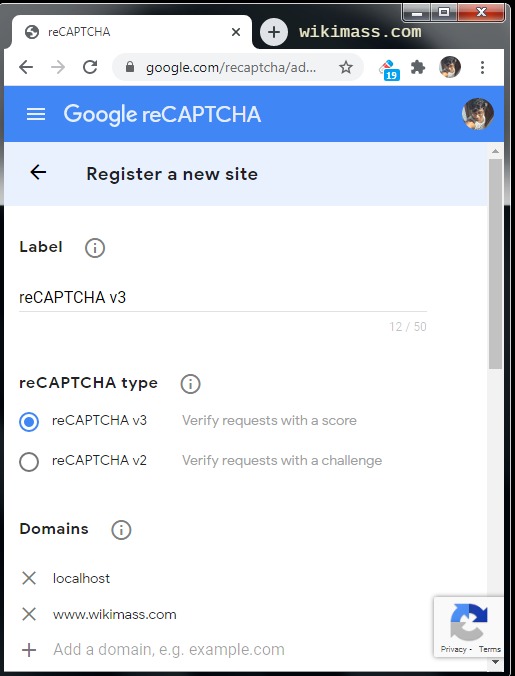
You'll get to "Register a new site" form where you should provide the following parameters:
- Label - Just a name of the setup
- reCAPTCHA type - Choose reCAPTCHA v3
- Domains - Add a list of domains (include localhost for testing) where you need to integrate reCAPTCHA v3.
- Owners - Add a list of email address who can control your reCAPTCHA v3 setup.
- Accept the reCAPTCHA Terms of Service - Accept it
- Send alerts to owners - Tick this box
- Now, click on submit button.
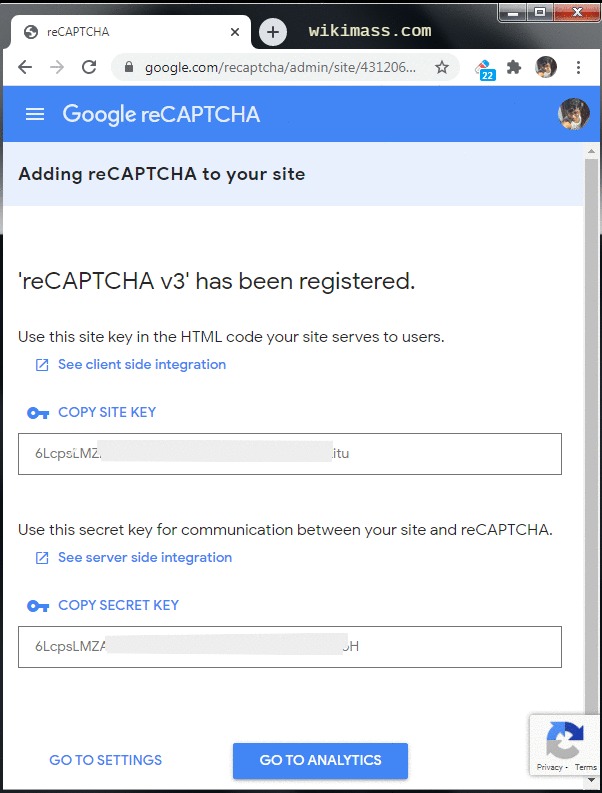
After submitting the "Register a new site" form, you'll get to "Adding reCAPTCHA to your site" form where you will get your SITE KEY and SECRET KEY.
- SITE KEY - Should be used in all your HTML page (client-side) where you need to integrate reCAPTCHA v3. This key is visible to everyone.
- SECRET KEY - Should be used in your index.js (server-side) main file.
Now we are done with Registration.
Implementing reCAPTCHA v3 in Client-Side
To implementing reCAPTCHA v3 in Client-Side on your page is to include the necessary JavaScript resource to your HTML Page
Load the JavaScript API to your "simple subscription form".
HTML Online Editor<script src="https://www.google.com/recaptcha/api.js?render=YOUR-SITE-KEY"></script>Note: Replace 'YOUR-SITE-KEY' with your actual SITE KEY
Call grecaptcha.execute on each action you wish to protect
HTML Online Editor<script> grecaptcha.ready(function() { // do request for recaptcha token // response is promise with passed token grecaptcha.execute('YOUR-SITE-KEY') .then(function(token) { // add token value to form myToken = token; }); }); </script>
You are done with the client-side. Your final client-side code for "simple subscription form" is as follows
Example
While posting email address to the server you have to send the recaptcha token as well.
Note: Replace 'YOUR-SITE-KEY' with your actual SITE KEY
Implementing reCAPTCHA v3 in Server-Side
To implementing reCAPTCHA v3 in Server-Side, you have to add the following npm packages to your index.js file:
- express - A web application framework for Node.js.
- request-promise - The simplified HTTP request with promise.
- body-parser - A body parsing middleware for Node.js.
API request should contain the following parameters:
| POST Parameter | Type | Description |
|---|---|---|
| secretKey | Required | Specifies the SECRET-KEY given to you. |
| token | Required | Specifies the user response token provided by the reCAPTCHA client-side integration on your site. |
| remoteIp | Optional | Specifies the user's IP address. |
Example
Note: Replace 'YOUR-SECRET-KEY' with your actual SECRET KEY
API response
The API response is a JSON object.
Error code reference
| Error code | Explanation |
|---|---|
| missing-input-secret | The secret parameter is missing. |
| invalid-input-secret | The secret parameter is invalid or malformed. |
| missing-input-response | The response parameter is missing. |
| invalid-input-response | The response parameter is invalid or malformed. |
| bad-request | The request is invalid or malformed. |
| timeout-or-duplicate | The response is no longer valid: either is too old or has been used previously. |
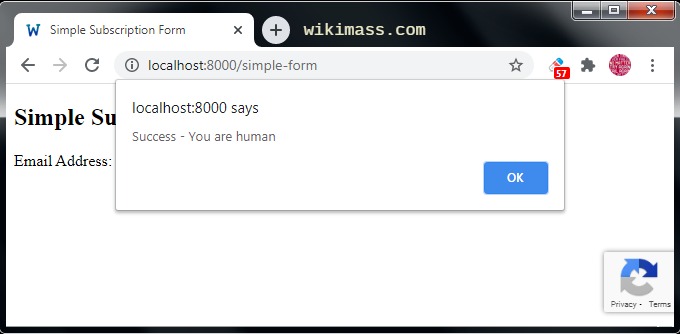
The following image shows that the reCAPTCHA v3 is add the our "simple subscription form".

Now lets test this form
Things to be Noted
- Each reCAPTCHA user response token is valid for two minutes, and can only be verified once to prevent replay attacks.
- reCAPTCHA v3 returns a score (1.0 is very likely a good interaction, 0.0 is very likely a bot). Based on the score, you can take variable action in the context of your site.
- A reCAPTCHA key is normally tied to a set of individual domains or package names
Specified domain Website domain Will reCAPTCHA work? yoursite.com yoursite.com Yes www.yoursite.com Yes subdomain.yoursite.com Yes subdomain.yoursite.com:8000 Yes
Reminder
Hi Developers, we almost covered 5% of Node.js Tutorials with examples for quick and easy learning.
We are working to cover every Single Concept in Node.js.
Please do google search for:
Join Our Channel
Join our telegram channel to get an instant update on depreciation and new features on HTML, CSS, JavaScript, jQuery, Node.js, PHP and Python.
This channel is primarily useful for Full Stack Web Developer.